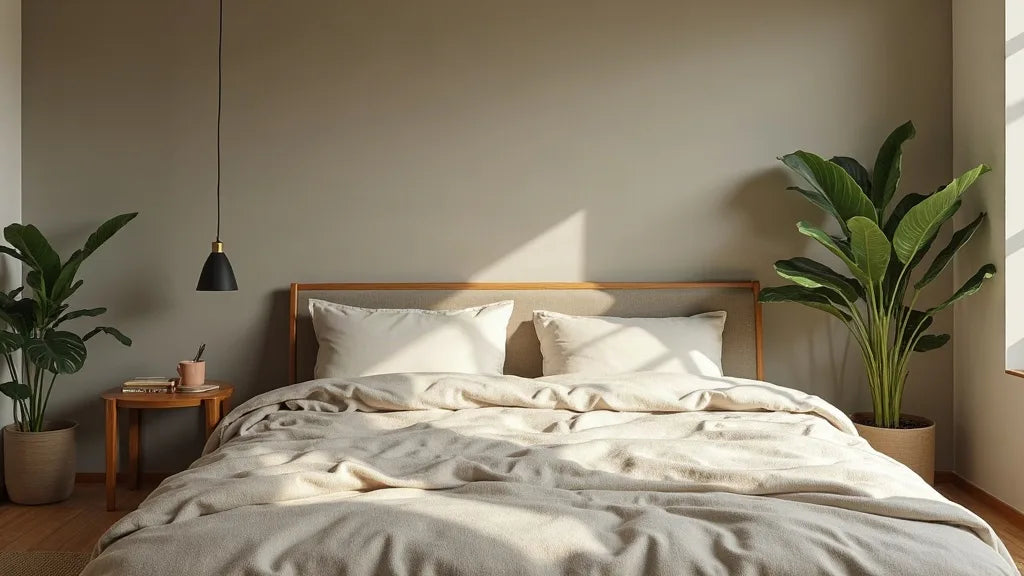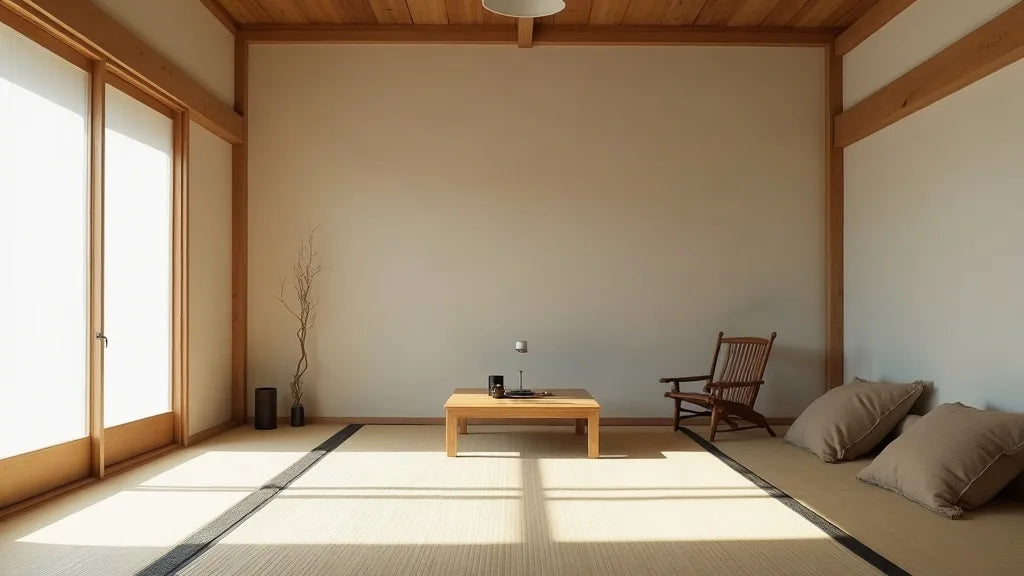

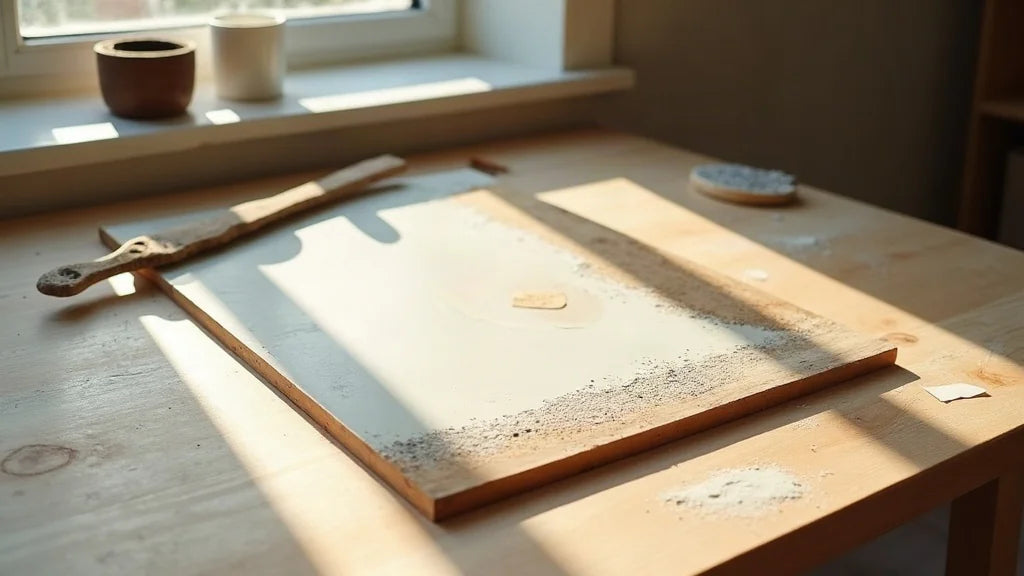
The first panel I ever made cracked across one corner while it dried on the kitchen table. I nearly binned it. It hung in a client's hallway for two years. If you are wondering how to make wabi-sabi art at home, start there: you build a textured surface rather than paint a picture. A rigid board or stretched linen, two or three thin passes of plaster or joint compound applied with a trowel, earth pigments worked in while damp, then sanding, dry-brushing and a matte seal. The whole process takes a weekend, most of it drying time, and the cracks and uneven edges are the point, not the failure. What follows is the exact sequence I use, with materials, timings, and how to frame and hang the finished panel.
Key points
- A wabi-sabi panel is made of texture and restraint, not brushwork or detail.
- Plaster, joint compound, clay slip, raw linen and earth pigments cover almost every recipe.
- Work in two or three thin passes and let each one dry fully; most failures come from thick, rushed layers.
- Leave large empty areas: roughly two-thirds quiet surface to one-third incident.
What the wabi-sabi style looks like in a plaster panel
Wabi-sabi is a Japanese aesthetic that finds beauty in things that are imperfect, weathered and unfinished. Translated to a panel on your wall, it means a surface that shows how it was made. No horizon line, no subject, no symmetry. You read it the way you read a limewashed wall in late afternoon: by its grain, its shadows, and the parts where nothing happens.
Imperfection and asymmetry on a handmade panel
Keep the trowel marks. A pass that lifts slightly at the edge leaves a ridge, and that ridge catches light. Avoid centring your incident: if the densest texture sits dead middle, the eye locks and stops moving. Push it off-axis, roughly a third in from one side. Let one edge stay thin, almost bare board, so the panel looks like a fragment rather than a composition.
Why muted earth tones read calmer than color
Earth pigments are ground mineral colours: ochre, raw umber, burnt sienna, iron oxides. They are low in chroma, which means they never shout against a wall. Two pigments are enough for a whole panel. I keep a reference object beside the work table so I can check my tone against something real, usually a pale stoneware vase with a dry, irregular glaze, because that matte, slightly chalky surface is exactly the finish most people are trying to reach.

Negative space: the 70/30 balance on a panel
Roughly seventy percent of the surface should stay quiet: flat, even, almost empty. The remaining thirty percent holds the texture, the deeper pigment, the crack, the raised ridge. That empty portion is negative space, and it is doing work, not waiting to be filled. Before you mix anything, look at your blank board and decide where the quiet third of it will be.
Materials for a wabi-sabi panel: plaster, clay, linen, pigment
Almost everything here comes from a hardware store rather than an art supplier, and costs less there. For a 50 x 70 cm panel you need roughly 1.5 kg of dry plaster or about one litre of pre-mixed filler, two pigments in small jars, a 10 cm putty knife, a 20 cm flexible trowel, 120 and 220 grit sandpaper, a stiff flat brush, and a matte sealer.
Plaster vs joint compound for a textured panel
These four bases behave differently. I use lightweight joint compound for most panels, and plaster only when I want hard, crisp ridges.
| Base | Setting | Shrinkage and cracking | Weight and cost |
|---|---|---|---|
| Casting or lime plaster | Sets chemically, 20 to 40 minutes working time | Low shrinkage, fine hairline cracks | Heaviest, lowest cost |
| Pre-mixed joint compound | Air-dries, long working time | Shrinks as it dries, cracks in thick layers | Light, low cost |
| Acrylic texture paste | Air-dries, stays slightly flexible | Very little cracking | Light, highest cost |
| Air-dry clay or clay slip | Air-dries slowly | High shrinkage, lifts from smooth boards | Heavy, moderate cost |
Linen, cotton canvas or cradled wood as a base
A cradled wood panel, meaning a plywood or MDF face with a wooden frame behind it, is the safest support. It does not flex, so thick material stays put. Raw linen over board gives the best of both: the weave shows through thin passes and the board keeps everything rigid. Vertical panels around 40 x 60 or 50 x 70 cm sit well above a console or bench.
Earth pigments, lime wash and clay slip
Dry earth pigments are the most economical way to colour a panel: a small jar lasts years. Mix them into water first, never into dry plaster, or you get streaks. Clay slip, which is clay thinned to a cream, dries to the chalkiest surface of all but needs a rigid support and a sealer, since it powders under a fingertip.
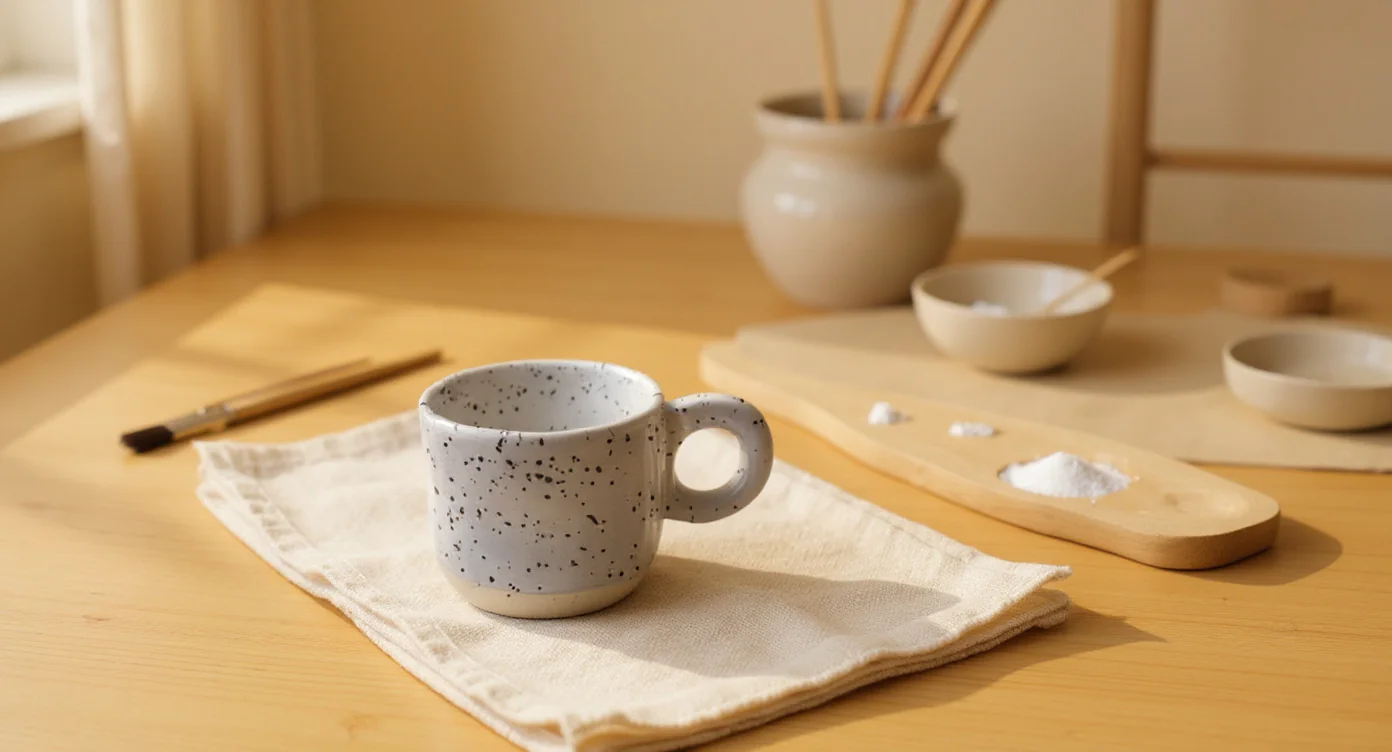
How to make wabi-sabi art step by step, layer by layer
Total hands-on time is about ninety minutes, spread across two days. Everything else is waiting. Work flat on a table, not upright on an easel, so the material stays where you put it.
Priming the board before the first plaster pass
- Sand the board lightly with 120 grit and wipe the dust off with a damp cloth.
- Brush on one coat of matte primer or diluted PVA. This stops the board sucking water out of your first pass, which is the main cause of layers lifting later.
- Let the primer dry two hours.
- Optional: glue raw linen over the board with matte medium, smoothing from the centre out, and let it dry overnight.
Troweling texture in two or three thin passes
- Mix a small batch. Plaster to a thick yoghurt consistency; joint compound straight from the tub, loosened with a spoon of water.
- First pass: hold the trowel at roughly 30 degrees and pull it across the board in long strokes, leaving 1 to 2 mm. Cover perhaps eighty percent of the surface. Leave gaps.
- Wait until it is matte and firm, not white and powdery. Four to six hours in a normal room.
- Second pass: 2 to 3 mm maximum, concentrated in the third of the panel you chose as your incident. Work with shorter, broken strokes. Skip over the quiet area entirely or skim it whisper-thin.
- While this pass is still damp, load a brush with pigment mixed in water and drop it into the hollows. It will bleed and settle into the low points on its own.
Sanding, dry-brushing and pulling back the color
Once the panel is fully dry, sand the high points with 220 grit. Sand less than you think. You are knocking the sharp edges off ridges, not levelling them. Then dry brushing: take a stiff flat brush, load a little pale pigment or chalk paint, wipe nearly all of it onto a rag, and drag the almost-empty brush sideways across the surface. Only the raised texture takes colour. If the panel gets too dark, brush a thin white wash over the whole thing and let it settle back.
Drying, cracking and sealing a plaster panel
This is where most home-made panels are lost, and always for the same reason: impatience. A surface can feel dry while the layer under it is still holding water. Seal that, and you trap moisture that will bubble the coating weeks later.
Drying times by layer thickness and humidity
| Layer thickness | Touch dry, 20°C dry room | Fully dry through |
|---|---|---|
| 1 to 2 mm | 3 to 5 hours | 24 hours |
| 3 to 5 mm | 8 to 12 hours | 2 to 3 days |
| Any thickness, humid or cold room | Double the above | Up to a week |
A reliable test: press the back of your hand to the surface. If it feels cooler than the board edge, water is still evaporating. Wait. This is the part of the process where I stop, make sencha in a small ceramic cup and leave the room, because the only thing that improves a drying panel is distance from it.

Cracks you keep and cracks you repair
Keep hairline cracks that run through the surface layer only. They are the signature of the material. Repair anything that lifts: if you can slide a fingernail under an edge, that section has lost its grip on the board and will eventually flake off. Work a little matte medium underneath with a fine brush, press it flat, and weight it with baking paper and a book for an hour.
Sealing a panel matte, without any shine
Three options work: a spray fixative, a soft clear wax buffed with a cloth, or matte acrylic medium diluted by half with water and brushed on thin. All of them slightly deepen the colour. Test on a back corner first and let it dry fully before deciding, because a matte sealer that looks dull when wet can still dry with a faint sheen. Two thin coats beat one heavy coat every time.
Wabi Sabi Bedroom Decor (grand format peint à la main)
If your panel keeps cracking apart and you want the wall settled this week, I would go for a hand-painted large format instead: the same handmade surface, none of the drying time.
View product →Framing and hanging your handmade wabi-sabi panel
A plastered 50 x 70 cm panel can weigh three to five kilos, far more than a print of the same size. Fix it accordingly. Two D-rings, screwed into the cradle rather than into the face board, and wall anchors rated well above the actual weight.
Float frames and raw wood edges for a panel
A float frame holds the panel with a small shadow gap around it, so the textured edge stays visible. Pale oak or ash suits earth tones. A simpler option: skip the frame, sand the panel edges smooth, oil them, and hang the piece bare. Seal the edges or plaster right over them on purpose to avoid chipping.
Hanging height and side light on a textured surface
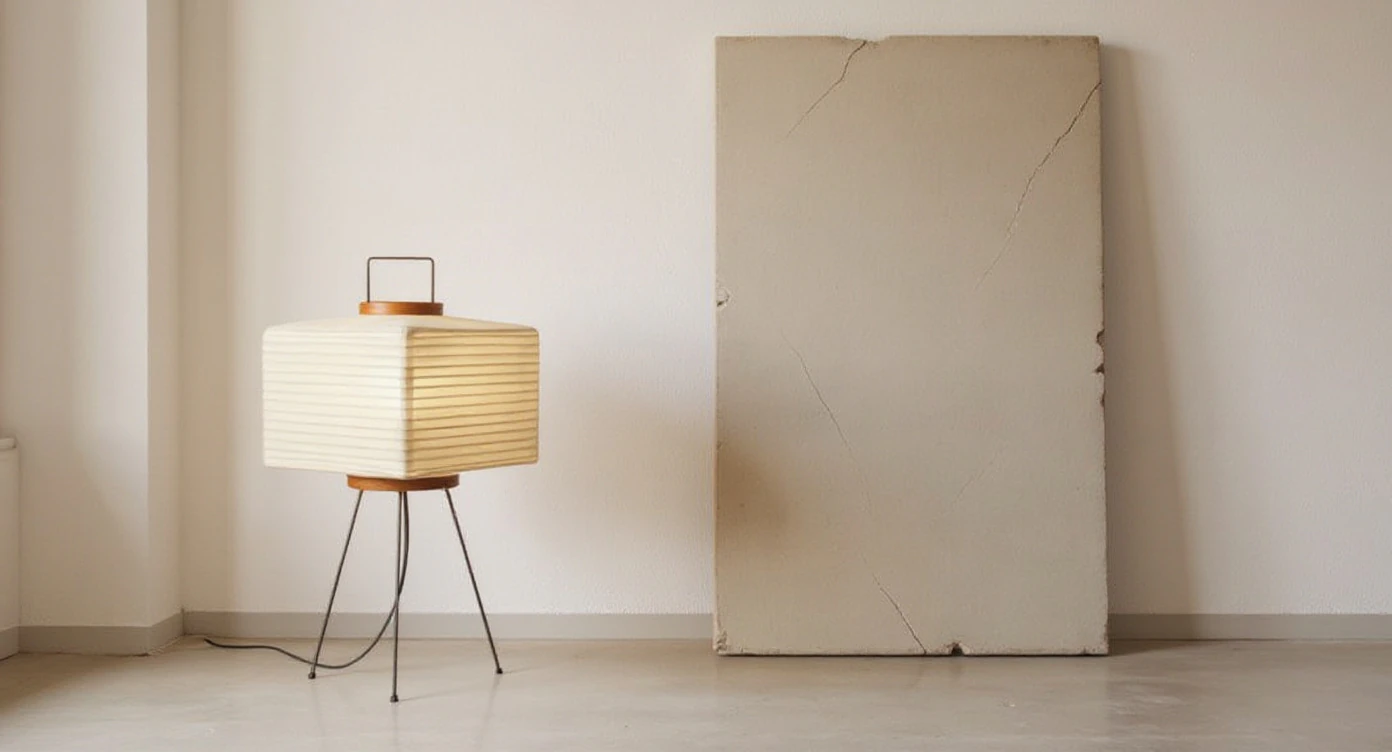
Texture needs raking light, meaning light arriving from the side at a low angle rather than straight on. Overhead downlights flatten a panel completely. I put an upward-throwing floor light a metre or so to one side, and the warm glow of a linen-shaded floor lamp is what I reach for most often, because it grazes the surface instead of washing it. Leave 20 to 25 cm between the bottom of the panel and the furniture below.

Letting the panel age: dust, patina and small repairs
Dust settles into texture and slightly softens the tone over months. That is patina, not neglect. Brush it once a season with a dry, soft brush, never a damp cloth. If a corner chips, fill it with your reserved mix, let it dry, and leave the repair visible.
Making wabi-sabi panels at home: your questions
What does wabi-sabi mean in art?
It describes work that accepts imperfection, asymmetry and the marks of time as part of its beauty. In practice that means muted tone, visible making, and generous emptiness rather than detail.
What is the 70/30 rule in art?
It is a working proportion: about seventy percent of the surface stays calm and roughly thirty percent carries the interest. On a plaster panel, that means most of the board sits nearly flat while one off-centre zone holds the texture and the deeper pigment.
Can I use joint compound instead of plaster?
Yes, and for a first panel I would recommend it. It stays workable for as long as you need, sands easily, and costs little. Its one weakness is shrinkage, so keep every pass under 3 mm and it will behave.
How long should a plaster panel dry before framing?
Wait at least 48 hours after the final pass in a warm dry room, and up to a week in a cold or humid one. Frame only after sealing, and only when the surface feels the same temperature as the wooden edge.
How do I start an abstract panel with no experience?
Buy one small board, one tub of filler and one pigment, and make three panels rather than one perfect piece. Limit yourself to two passes and a single tone; restriction removes most of the decisions that stall beginners.
If you would rather live with a finished piece than a drying one, the same restraint and earth tones run through our selection of textured wall pieces. Take your time with it, the way you would with any single, well-chosen object.
Explore the Wabi Sabi Wall Art collection
If you would rather hang a finished piece, our wall art collection gathers textured, muted panels and prints made for the same quiet wall.
Browse the collection →